This guide covers the third-party GUI for SingBox client. The official Windows/Linux client is now sing-box for Desktop; see the official Windows GUI tutorial (Chinese) if that is the app you installed. The two clients have different interfaces and setup steps. For macOS version, you can check Sing-Box macOS User Guide.
GUI for SingBox Download and Installation
Install the corresponding version of the client from the download link on the homepage, then launch it.
If your provider does not support the Sing-Box subscription format, you can use an online subscription conversion tool to convert it.
GUI for SingBox Install Kernel
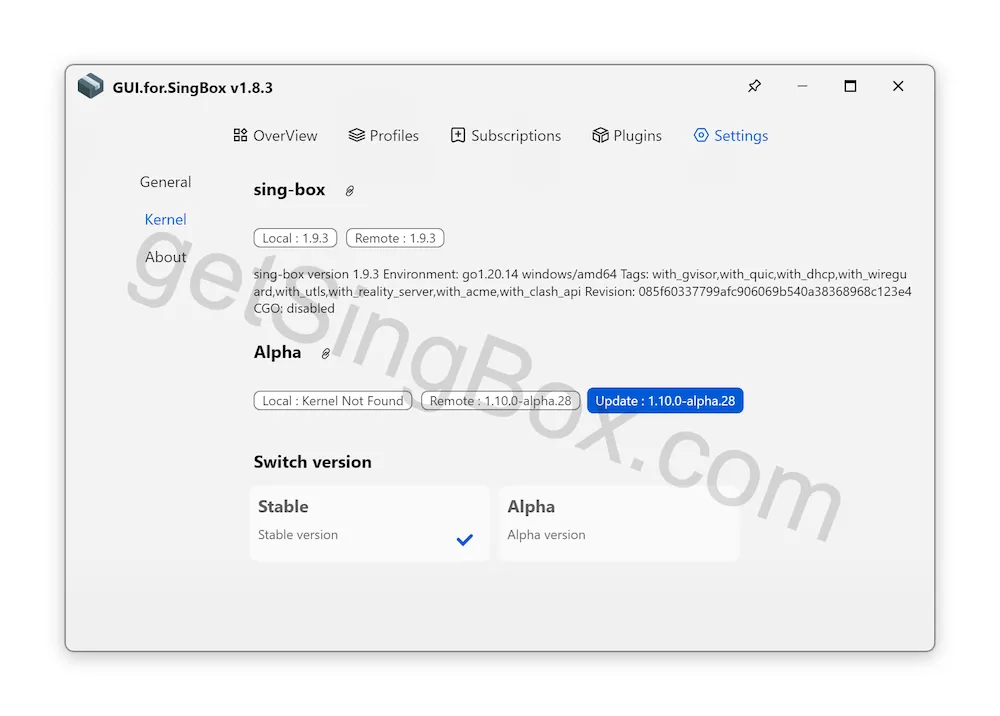
First, open the settings page, then select the kernel on the left, check if the kernel is installed. If it shows there is no kernel locally, first click the update button on the right to install the latest kernel version.
GUI for SingBox Add Subscription
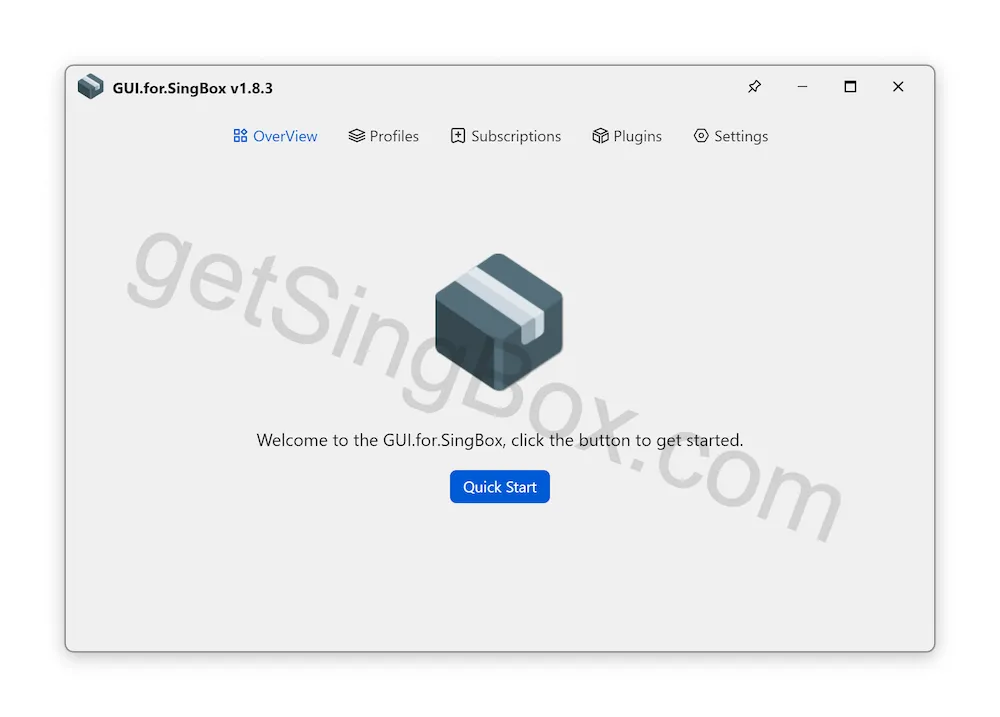
Click ‘Quick Start’ on the main interface, paste the copied provider URL in the popup box, then click save.

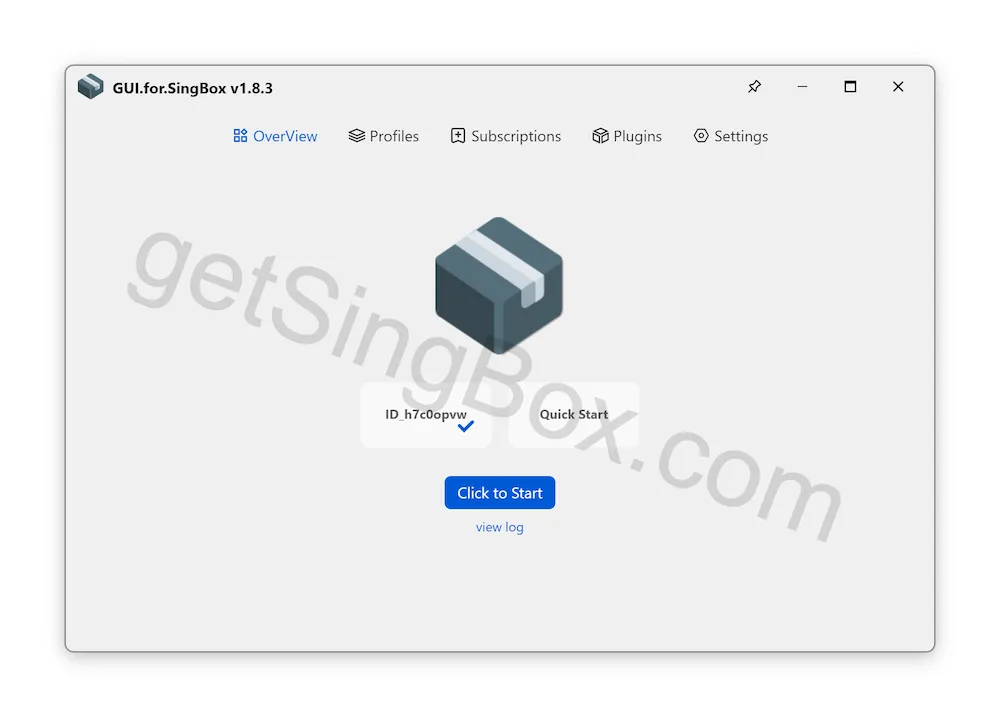
After a successful addition, the homepage will display the added configuration as shown below:
GUI for SingBox Start Proxy Service
Click ‘Click to Start’ to launch the Sing-Box proxy service. Once started, you will see details about the proxy status including traffic, memory, and mode of service.
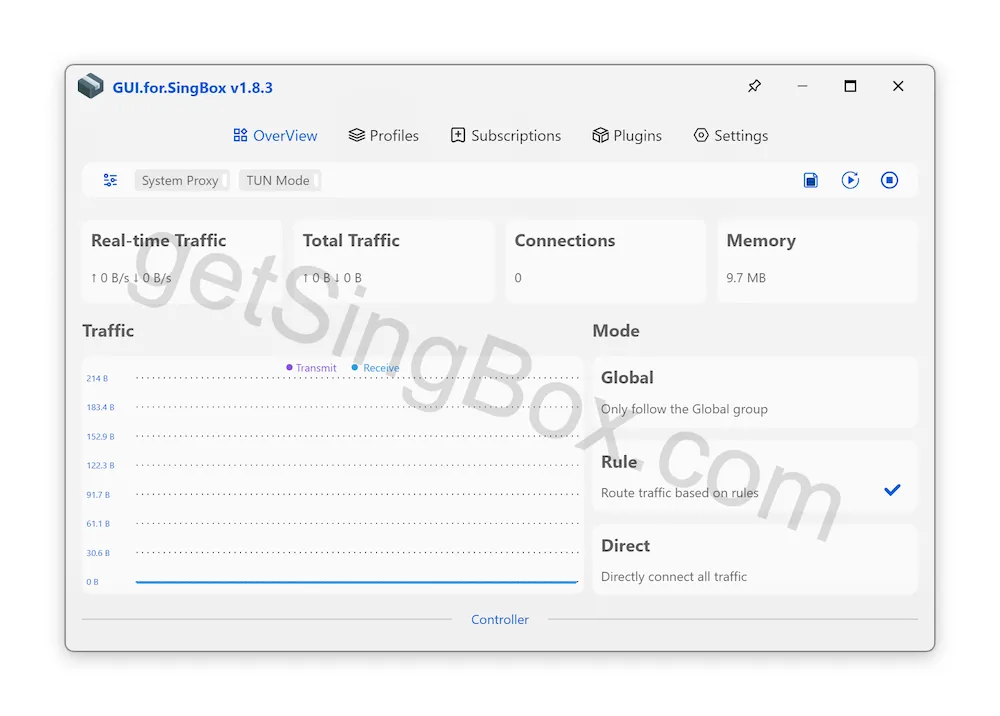
GUI for SingBox Start System Proxy
After starting the proxy service, you need to activate the system proxy to allow the browser to automatically use the proxy service. Click the system proxy at the top left of the interface to activate it.
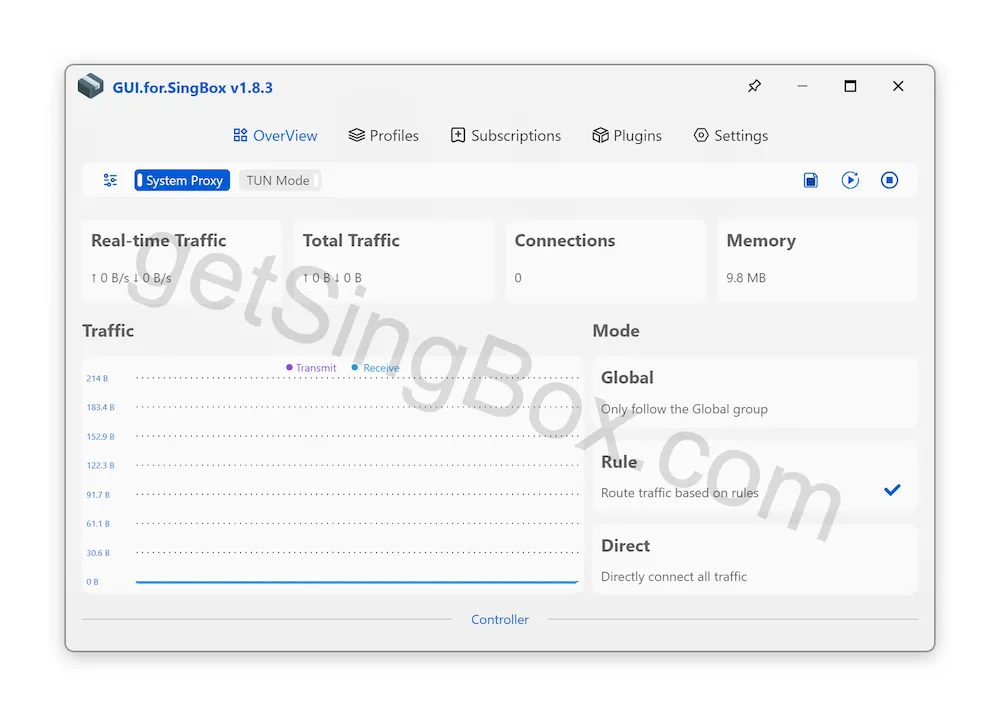
GUI for SingBox Switch Nodes
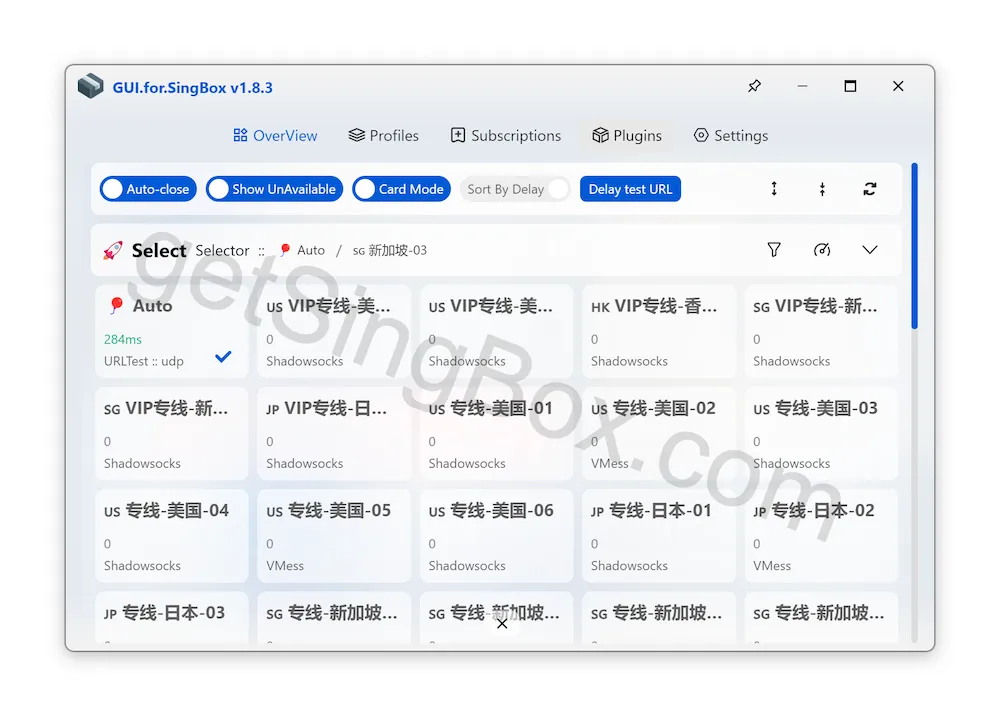
GUI for SingBox will automatically select the most suitable node. If you have specific needs, you can manually select the required node. After starting the proxy, scroll down to see the list of nodes and click on the desired node to switch.